Posted By Vinyl Frog On March 17, 2024
How To Remove Stains From Vinyl Wrap?

You can remove stains from a vinyl wrap very easily by washing it with mild soap, using specific wrap cleaners, or gently wiping it with a mixture of isopropyl alcohol and water.
A vehicle wrapped to perfection with an excellent sheen is a definite head-turner however stains can be a bane for it. Who does not want their car to look brand spanking new? It is important to keep the vinyl in impeccable condition by getting rid of stains immediately.
Maintenance of vinyl wrap is particularly important for those used in commercial advertising. Unkempt-looking wrapped vehicles dampen the brand image and customers begin to lose trust. It is essential to keep both the vehicles and their wraps in pristine condition. In this blog, we will discuss in detail how to remove unsightly stains from your wrap.
How To Remove Stains From Vehicle Wrap?
Even if you are a careful person you are bound to slip up once or twice and accidentally stain your vinyl surface. That should not mean you have to spend a fortune on replacement so let’s look at what you can do for different types of stains.
Dust, bug splatter, and bird droppings can etch your vinyl wrap. Oil and gasoline spill also damages the vinyl. Make sure these are cleaned there and then with a soft, plush wash mitt.

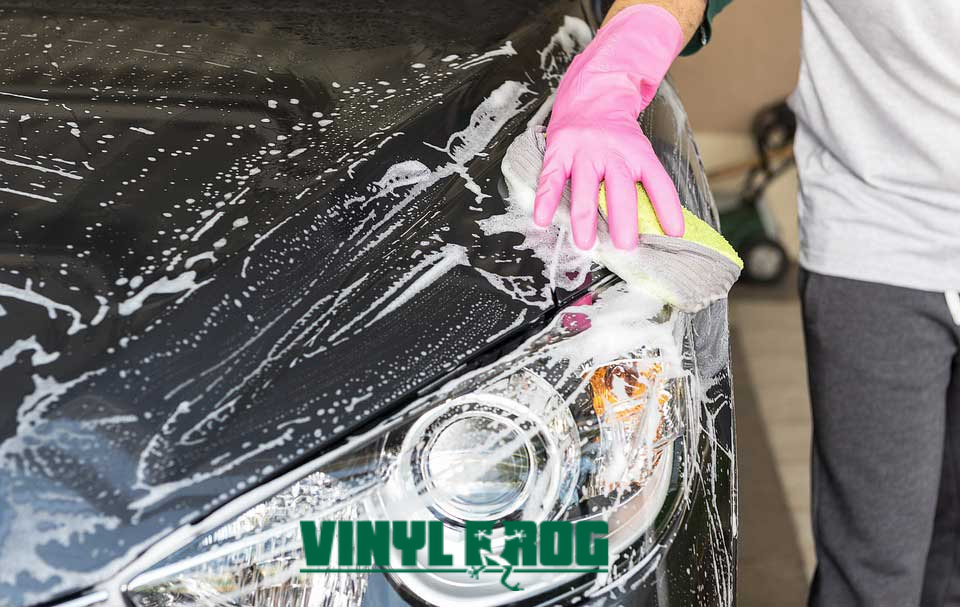
- Hand wash: It is not recommended to put your vinyl-wrapped vehicle in a drive-through car wash. The most simple and effective way to remove non-sticky stains is by hand washing the vinyl surface. Putting warm soapy water on the stain and rinsing it off is your best bet against the dirt or undemanding splotches.
This method will also ensure that the quality of your vinyl wrap does not deteriorate and is completely safe to use! If you encounter gasoline spills, bird droppings, tar, or tree sap, it is recommended to use this method as soon as possible. By taking immediate action, the stains will not harden and ruin your vinyl. - Stain Remover/ Cleaner: If your vehicle’s vinyl wrap has stubborn stains and debris you can use spot cleaners. Stain removers which are not oil-based and are manufactured for vehicle stain removal are ideal to use. Simply, leave the cleaner on the stain for a few minutes, and using a microfiber cloth, gently wipe and rinse it off with water.
- Isopropyl alcohol: Alcohol in its pure form is abrasive to vinyl wraps, however, it can be helpful if diluted and used in small, controlled quantities. Isopropyl alcohol is suitable for cleaning your vinyl-wrapped vehicle but not directly. Mixing two parts of isopropyl alcohol with one part of water makes a cleaning solution that will take out the sturdiest of stains.
For spot cleaning of difficult contaminants and fingerprints, keep a 2:1 mix of isopropyl alcohol and water in a spray bottle and a microfiber cloth handy in your car.
It is important to note that before using stain removers and isopropyl alcohol, you should test them on a small, inconspicuous portion of the vinyl wrap to determine whether they negatively affect the vinyl or not.
What Should You Avoid While Cleaning The Vinyl Wrap?
It is easy to get carried away while cleaning and doing so excessively will damage your vinyl wrap. You should avoid the following to keep your vinyl prim and pristine:

- Rubbing and scrubbing away at stains with abrasive cleaners and tools will do more harm than good.
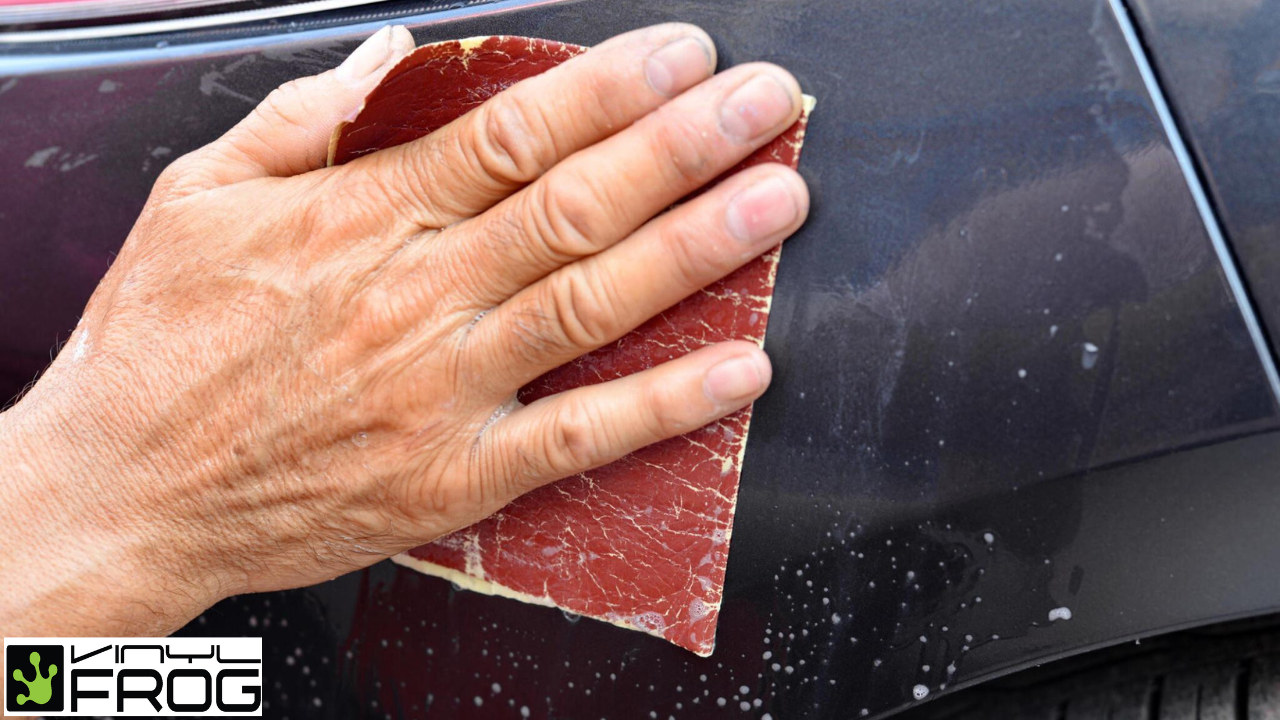
- Make sure to avoid sponges and sandpaper as well as cleaners not designed for vinyl wrap or vehicles.
- Avoid oil-based cleaning solutions as well.
- Do not take a vinyl-wrapped vehicle to a drive-through car wash or even a pressure wash. This will wear down your vinyl wrap and reduce longevity.
Avoiding Stains On Vinyl Wrap In The Future
Everyone wants their vehicles to look spotless, and that too with minimum effort. To avoid the hassle of cleaning altogether you can make a few changes in your vehicle and its maintenance routine.

Firstly, proper storage, away from harmful UV rays and uncertain weather conditions is key to avoid stains. Storing your vehicle in a garage, under a canopy or getting a car cover can save you a lot of time and money.
If you are looking for a more permanent solution you can invest in a protective film on your vinyl wrap. The Paint Protection Film (PPF) works well when applied on vinyl. Wax coatings also offer substantial protection against the weather and other external elements but these can only be done on glossy vinyl.
Frequently Asked Questions
The Final Word
To give the best possible impression to others, keep your vinyl wrap looking fresh, clean, shiny, and stain-free. It is not as difficult. Just requires the right products and timely action so that the stains do not set in and damage the wrap.
For premium quality vinyl wraps that are durable and high performance with anti-stain and anti-scratch properties, visit VinylFrog—the one-stop online shop offering an extensive variety of vinyl films and fulfilling all your car customization needs.


